
Insertion of drawers
If you use trusses in your project, the position of the truss may prevent underlying components from being pushed to the position you want.
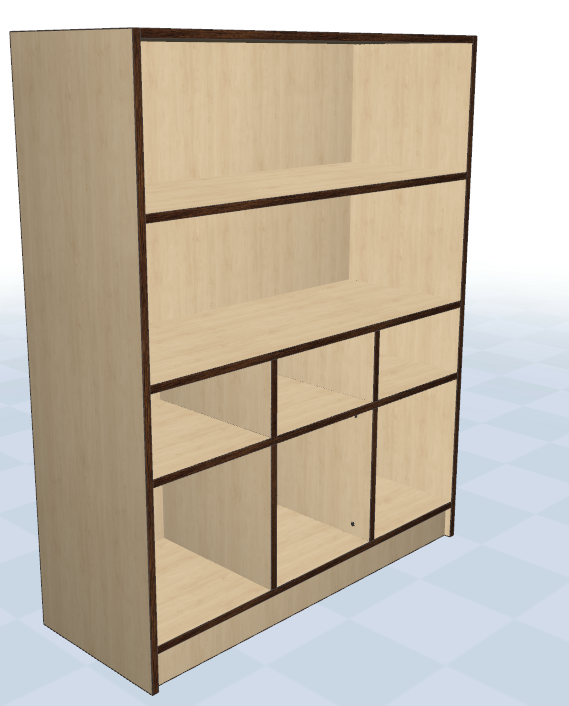
If your furniture drawers contains, you must proceed as follows to place them with SmartWOP.
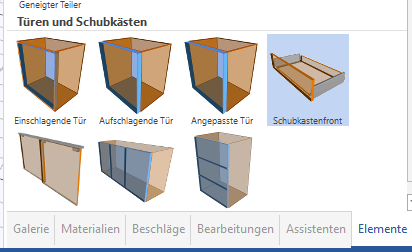
When you have designed your furniture to such an extent that the next step is to place drawers, click on “elements”.
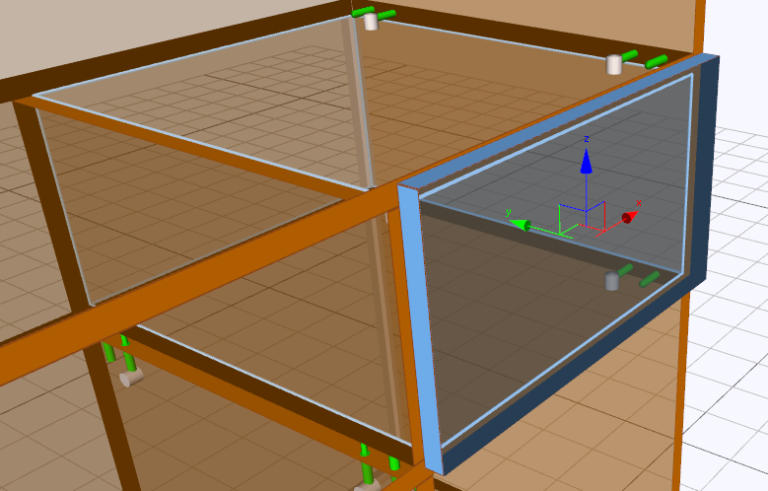
Since the fittings for drawers are linked to the drawer front in SmartWOP, this must be positioned first.
Drag the drawer front to the desired location.
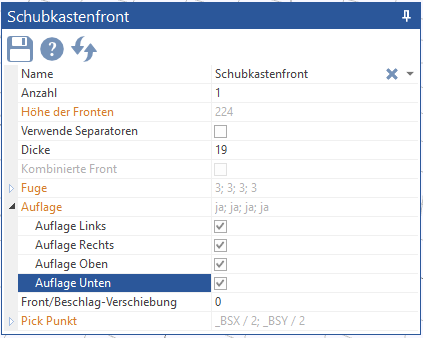
To one slamming drawer front to get you have to uncheck all “edition" remove.
If you use a drawer system that no front required, you can use the option “Use separators” transform the front into an invisible separator.
The Front/fitting displacement allows you to move the drawer front (or separator) and associated fittings together.
Once the front has been placed you can click on the “Fittings” in the lower right image. Then, in the upper part, make sure you do this drawer icon selected (and deselected the favorites if necessary - as long as the fitting you want is not a favorite).
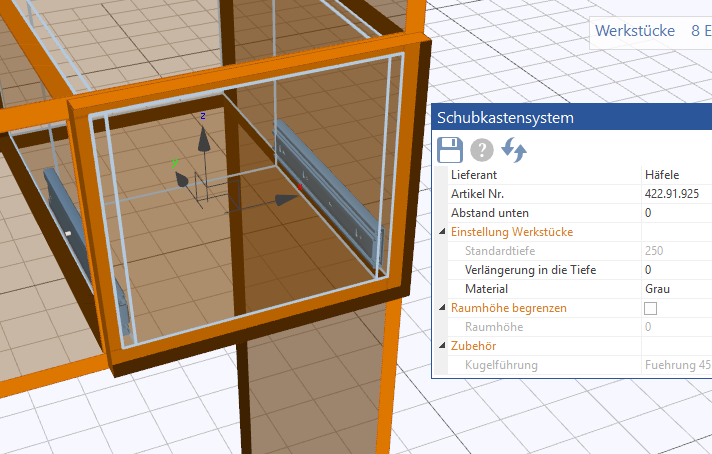
In order for you to be able to place the fitting, the drawer front must be visible. You can then, for example, hide the fronts by pressing the F key in order to have a better view of the interior of your furniture.
In this example, rails from the Häfele company were selected and dragged into the example. The light blue lines now specify the maximum dimensions of your drawer.
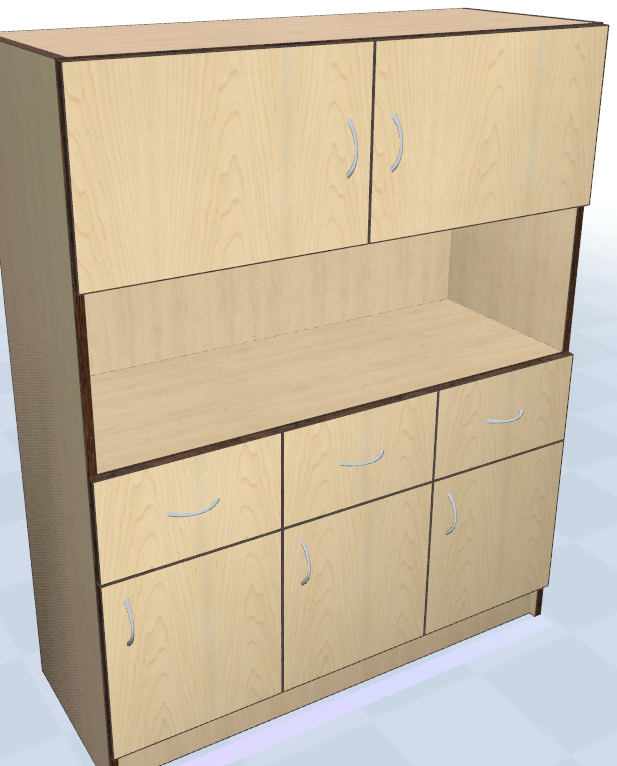
Now, for example, you can add one of your als component Pull in the saved drawers here, make the fine adjustments (if necessary, attach handles, etc.) and you're done complete!
