
Linked doors have grayed out the “Double Door” feature. How can I now create a double door if several volumes are to be covered by it?
With the right order. In SmartWOP, from outside in worked. The order in which each item is indented is very important.
Double doors without linking
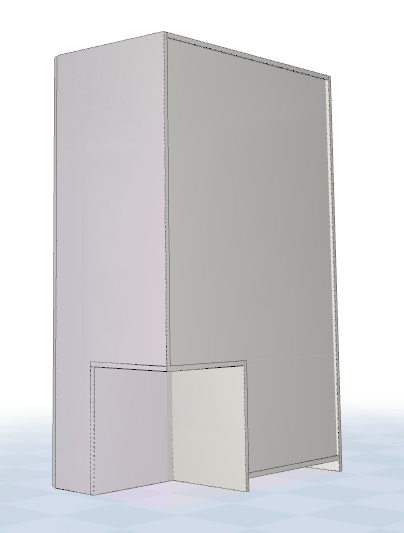
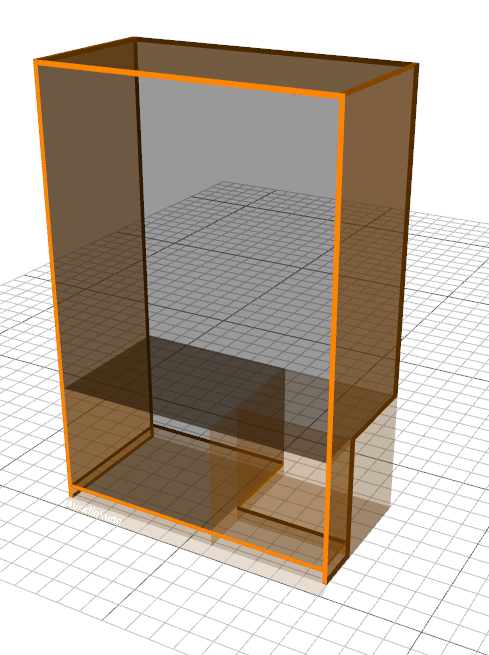
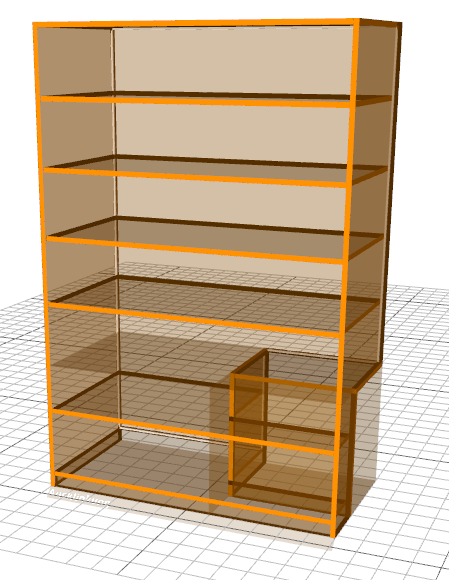
As an example, we use a cabinet with a notch at the back right.
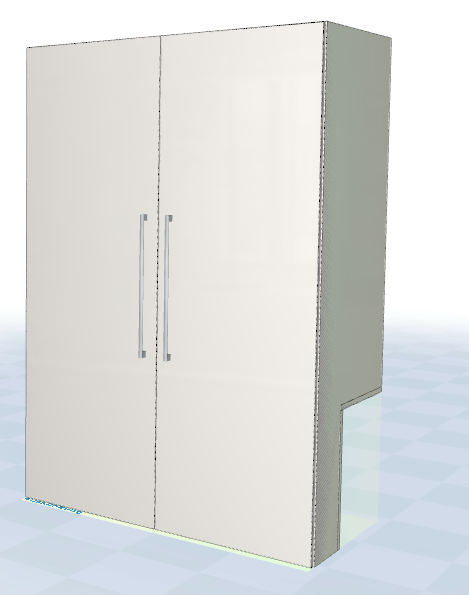
As you can see below we have a double door, although several volumes are spanned here. So how do you go about it?

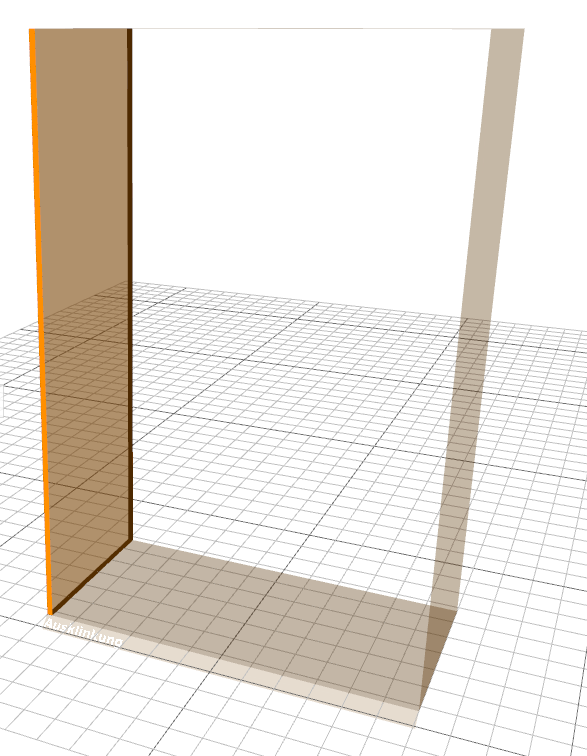
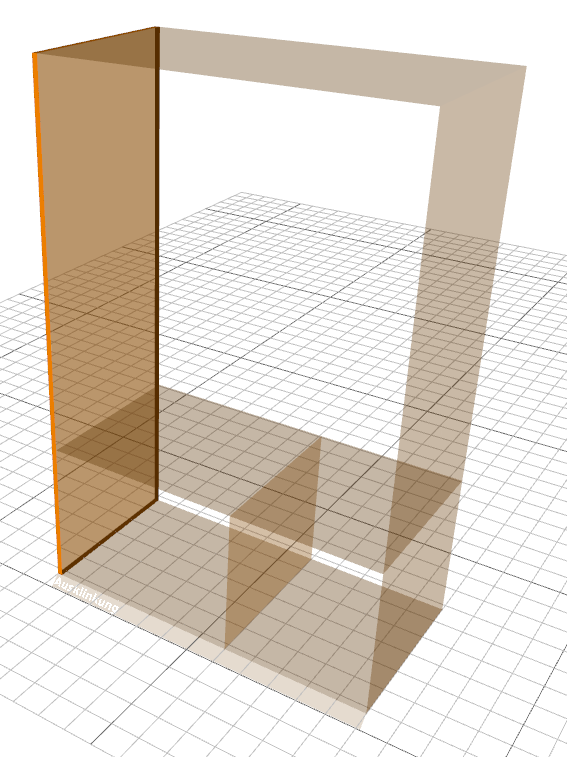
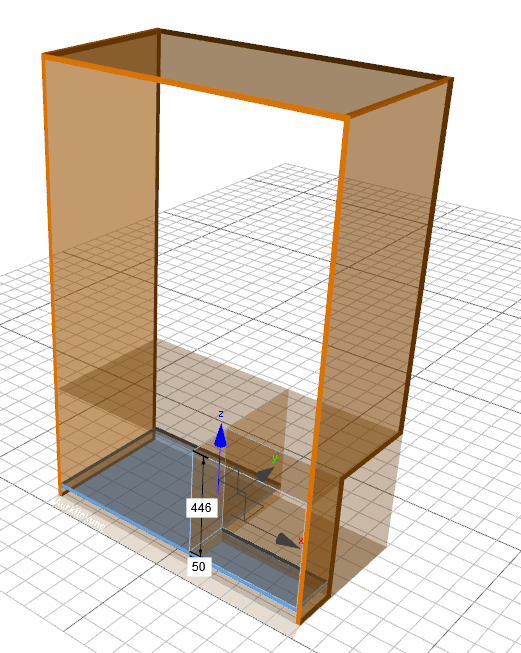
Step 1:
volume and left side
To do this, pull in a base and the vertical plate as normal.
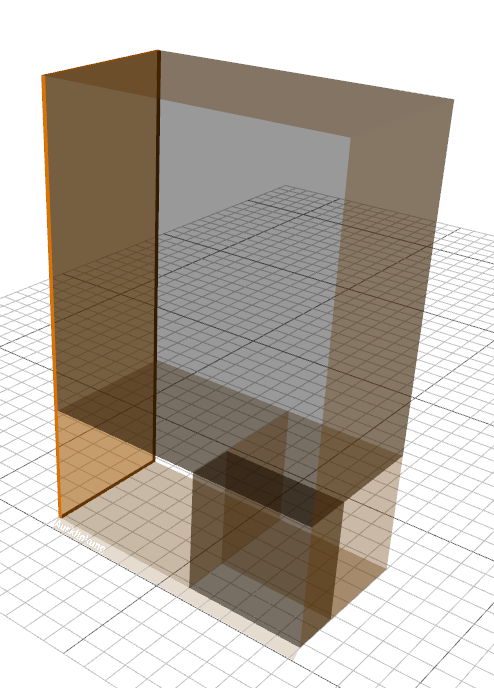
Step 2:
Open the door and tick the double door box
Then use the F key to hide the doors to make it easier to edit the inside.
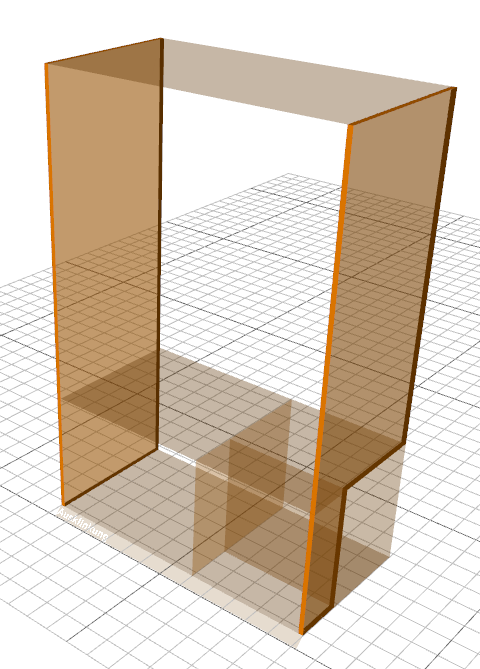
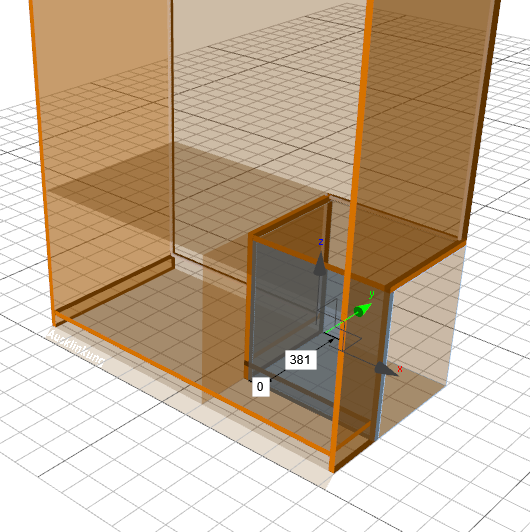
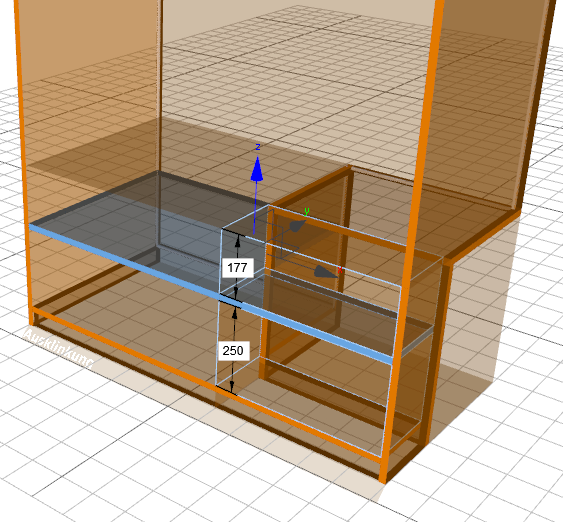
Step 3:
Place horizontal and vertical dividers
Step 4:
Place frontal divider

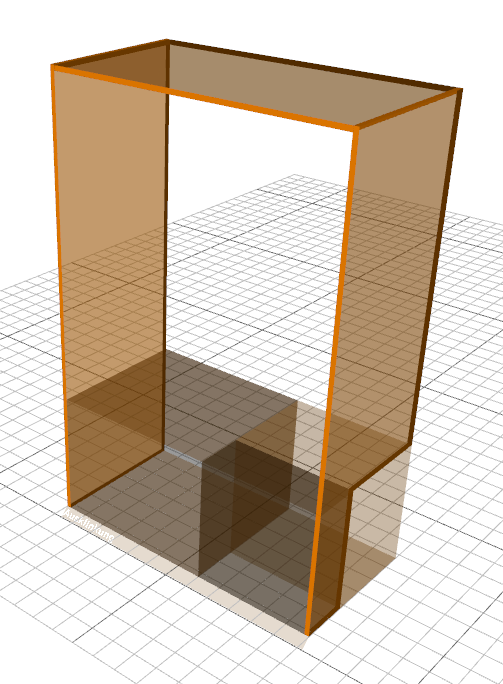
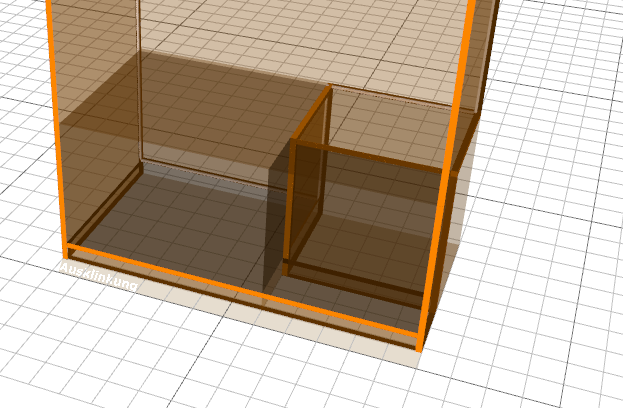
Step 5:
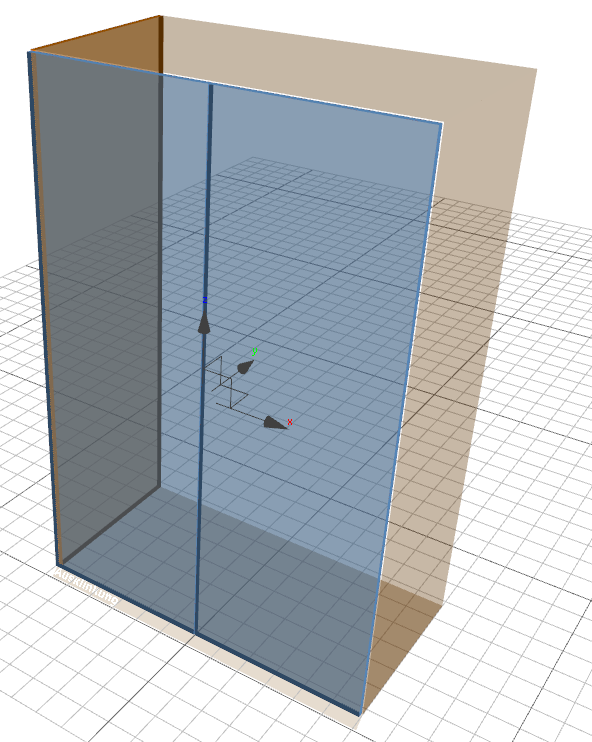
right side
To do this, the volumes must be selected. To do this, press the V key and click on the first volume in front.

Hold down the STRG/CTRL key and then select the second volume.
Now the page can be drawn in on the right.
Step 6:
The floor
The same volume selection method is now applied to the volumes in the lower pane.
First press V, then select the first volume, hold CTRL/CTRL and select the second (or more) volume.
Now the floor can be drawn in.
Step 7:
The back wall
Once again we use volume selection to draw in the back wall. Mark the volume, draw in the back wall.
Step 8:
Provide the notch with plates
If you're having trouble dragging the panels into place, use the spacebar as you drag in to jump between volumes.
Step 9:
The construction floor below
As before, select volume, pull in horizontal plate.
Step 10:
Draw in the remaining elements
From here you can equip the cabinet with elements as usual, assign processing and materials and place fittings.
In order to place the door hinges, the doors must be shown again. To do this, use the J key.
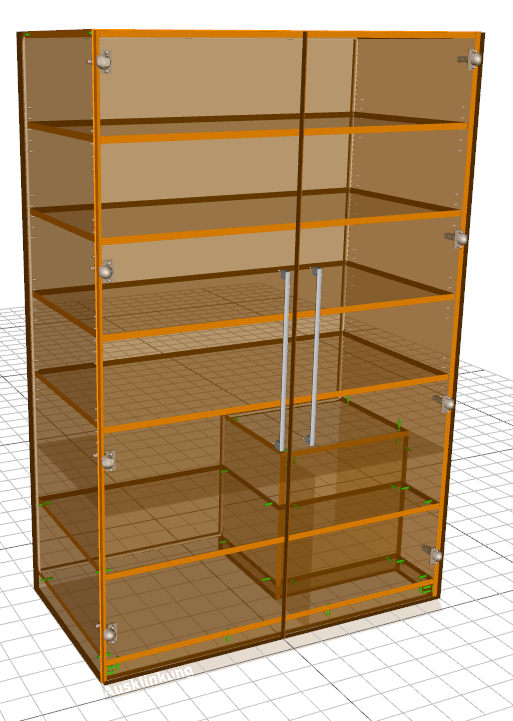

Complete!
