How to create, load and edit components
Working with SmartWOP components significantly reduces the design effort. For example, a base cabinet can be saved as a component and later used in your other projects.
The component then adapts to the volume, you don't have to laboriously adjust the dimensions. Pull in once and you're done!
Creating a component
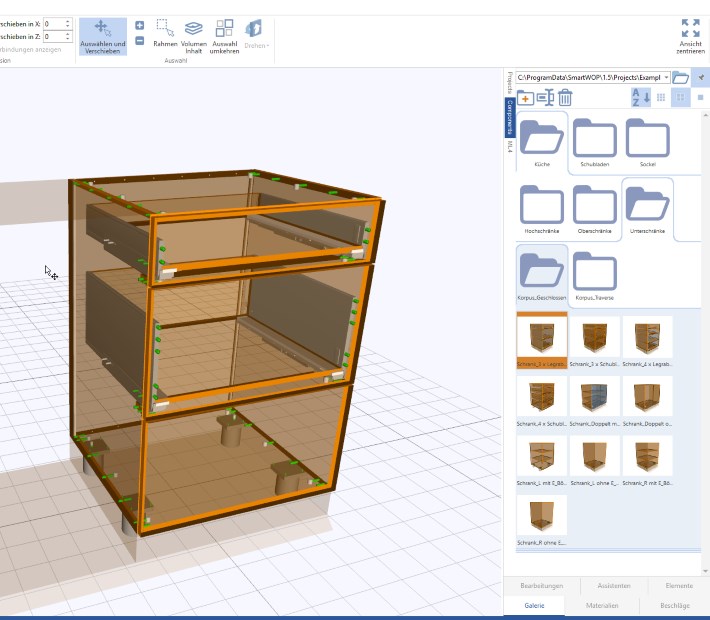
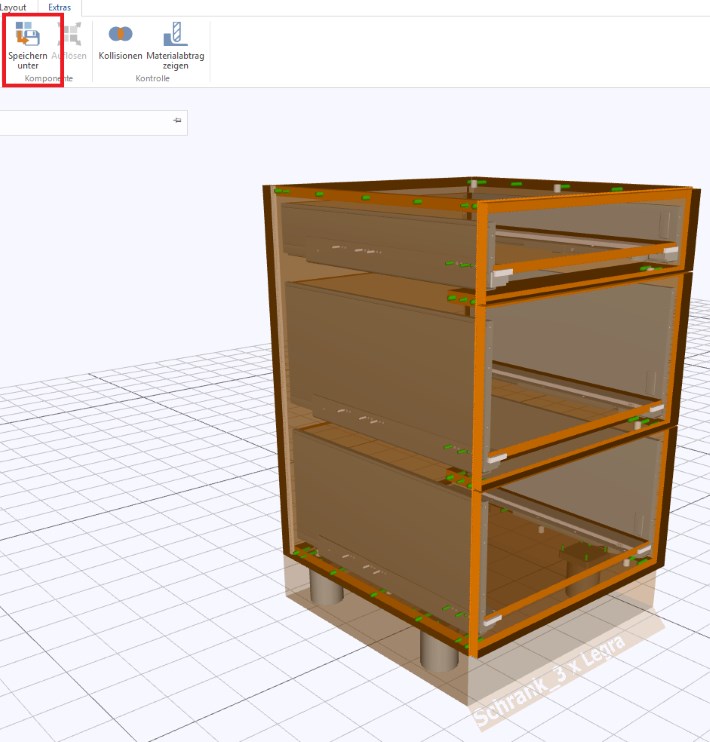
First, of course, we have to construct our base cabinet. When the construction of an object is complete, click the button Component\Save As. The button can be found under the Extras tab.
By default, components are stored in the Components subdirectory in SmartWOP's working directory.
- More on this in our manual below Settings - Directories
- tutorial video to directory settings
Tip: Create a subfolder in the "Components" directory to store your components in a structured manner. This makes it easier to access the components.
Loading components
Now we want to use the saved components as well.
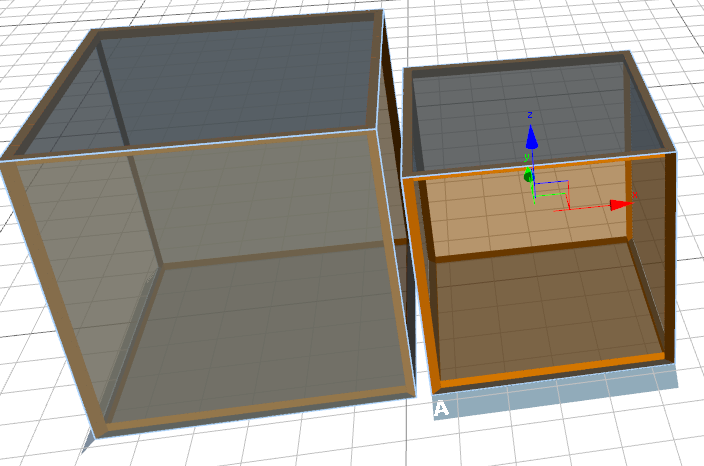
We create a new volume and divide it into 3 areas using dividers.
Now let's look for our created component.
Navigate in gallery window to the folder where you saved the component.
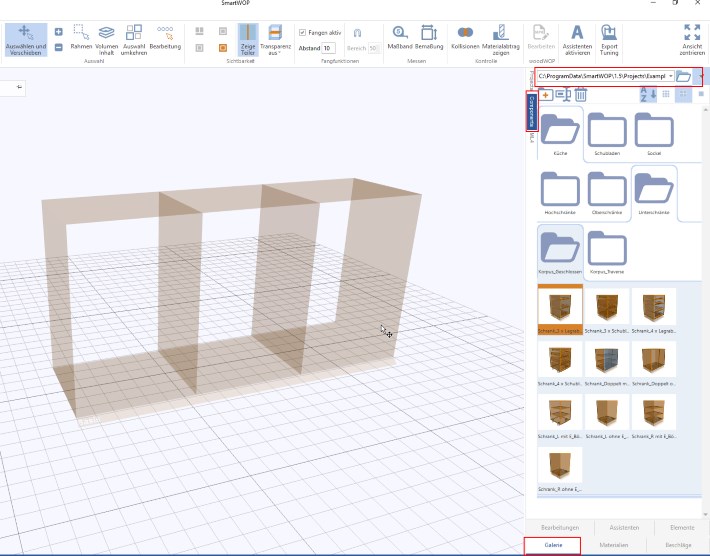
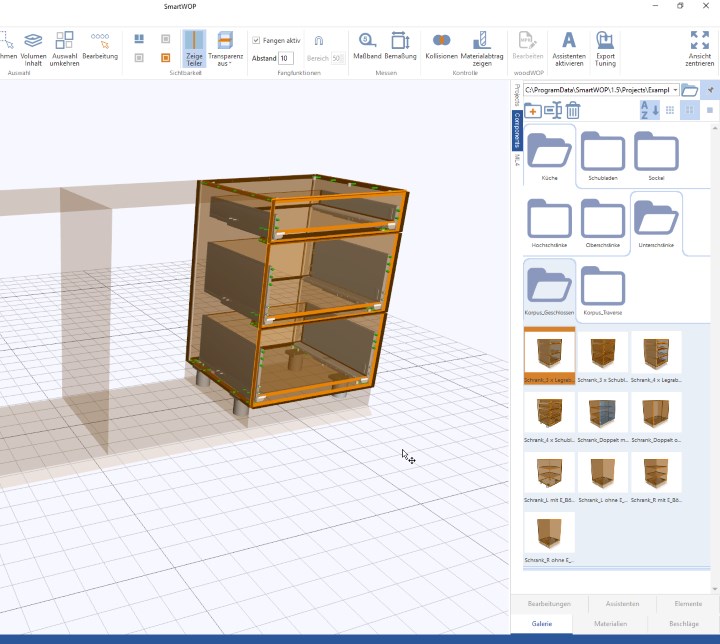
Now let's just drag the component to the desired area.
The component scales and adapts to the entire volume automatically.
It's that easy!
But we want to change something in our base cabinet. Let's say remove the bottom drawer. No problem!
We need the component at this point dissolve.
First select the inserted component and then click on the button dissolve under the Extras tab.
The elements of the SmartWOP component are now individually clickable. So we can easily remove the lower drawer.
- Select drawer
- distance press on the keyboard
- Complete!