Creating materials
To add new materials to your SmartWOP library, you can here watch a video or follow these steps.
Switch to the Material view (M button)
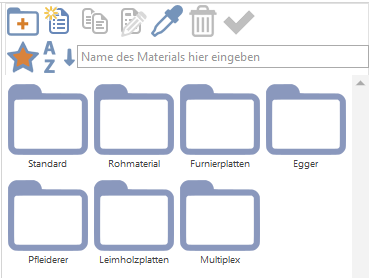
In the top left corner you have one folder icon with an orange cross for an entire new material folder, or the file icon with a yellow asterisk for a single new material
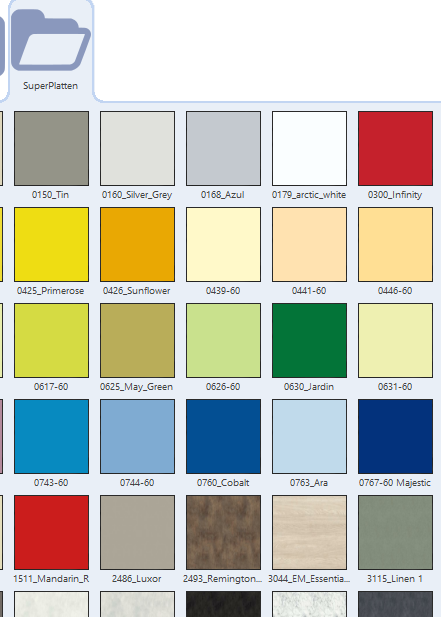
In this example we take care of the folder. This is helpful if you have received a data medium/download with many textures from your record supplier, for example.
The process is identical to the individual material.
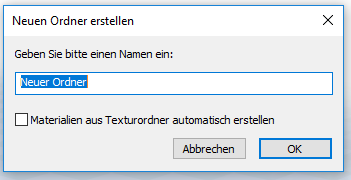
Once you click on the “New Folder” icon, a mask will open asking for the folder name. Here you also have the option of automatically creating materials from the texture folder. If you check this box, the mask changes.
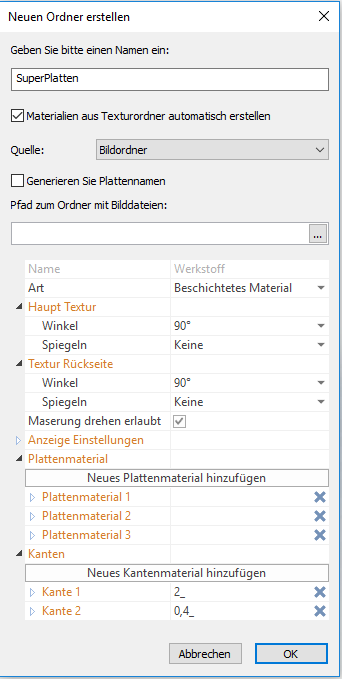
First select the folder on your computer in which all material textures are saved. This is done under the point “Path to folder with image files: "
(If you have previously assigned a folder name that differs from the target folder, it will be overwritten by the folder name, so it is advisable to do this after selecting the folder.)
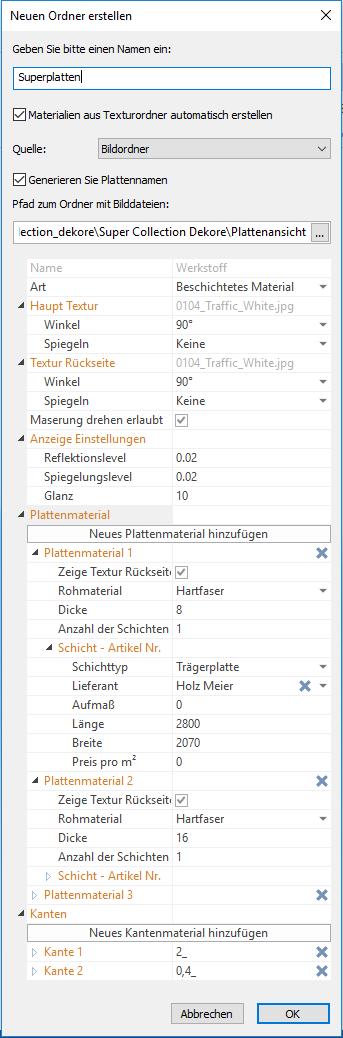
If you "Generate disk names” is selected, the texture file name will be automatically appended with the plate thickness to make it easier to match.
The next steps depend on the materials and your working method, so only one example is given here.
First the “kind“. Here you can select the type of material.
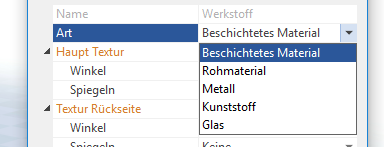
In our example, it should be a folder for coated material.
Next up is the “main texture". For a folder, the file name is grayed out because all textures in the folder are treated the same.

Here you can specify in which direction your textures run by default. The option "Reflect', does exactly what you'd expect and mirrors the texture around the X or Y axis.
The same goes for the “texture back”.
If you are at “Grain rotation allowed” box, the grain direction is no longer relevant later for the alignment of the board under the machine. This is actually mainly recommended for uni decors.
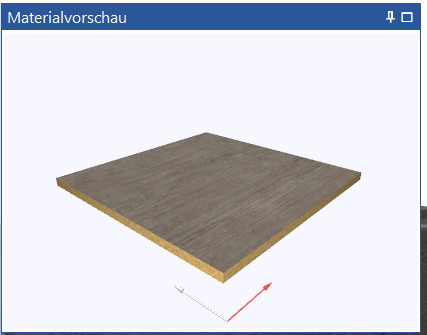
The material preview shows the direction of the grain/grain of the panel with the red arrow.
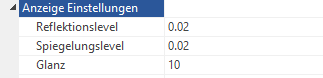
In the display settings you can specify how the material looks in the 3D view - higher values provide glossier surfaces. We recommend values that are as low as possible for most board materials.
Now it's time to deposit your panel materials.
Click on Add new plate material.
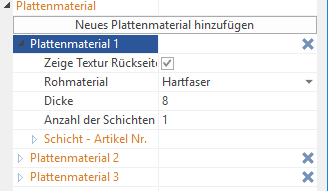
If you none hook on Show texture back side set, a texture is deposited only on the upper side.
thickness explains itself.
The number of layers determines how many layers your material consists of. This is relevant for the bill of materials.
You can then go to the next submenu layer define what exactly this layer is.
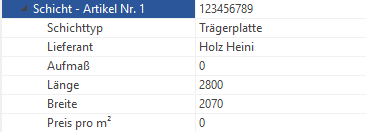
You should fill this out for all shifts.
In this article Let's go deeper into the matter of layers a.
If you need different thicknesses of each sheet material, simply repeat the operations for each sheet thickness.
As soon as all plates and layers are entered according to your wishes, they would be edge the next point.
The principle is identical to the plates.
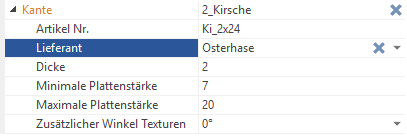
However, an area is entered here using this edge. In the example above with plates between 7 and 20 mm. Thickness represents the edge thickness and not the thickness of the panel.
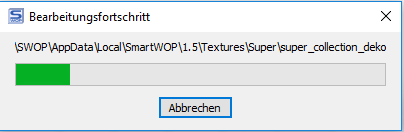
Once you have stored all plates and made all settings, click on OK. A progress bar is displayed and each plate is created.
The materials are now stored in SmartWOP as usual.