Align and rotate base volumes
There are several ways in SmartWOP to align and rotate bases.
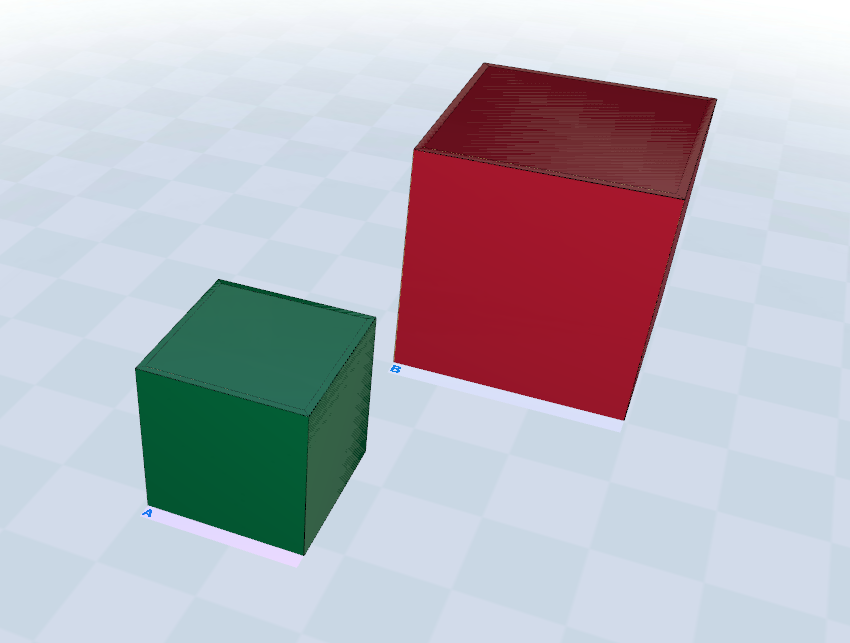
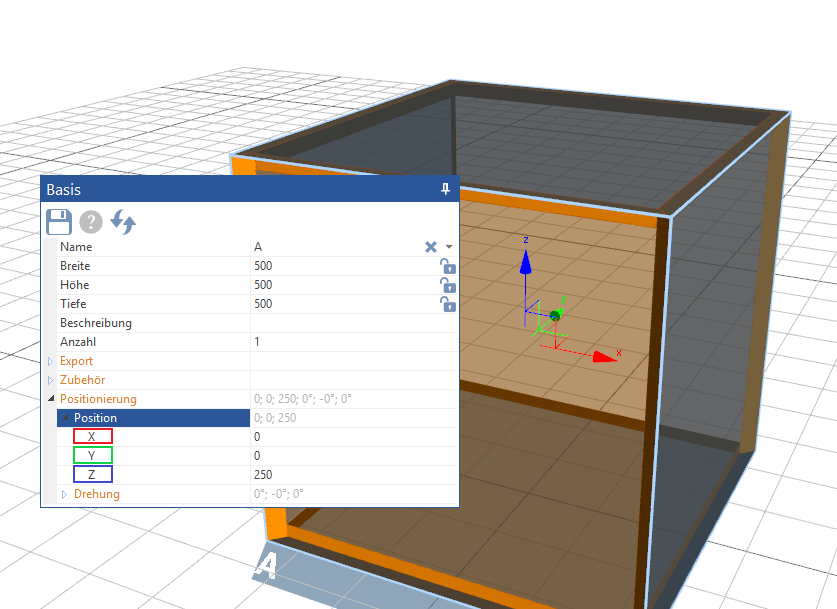
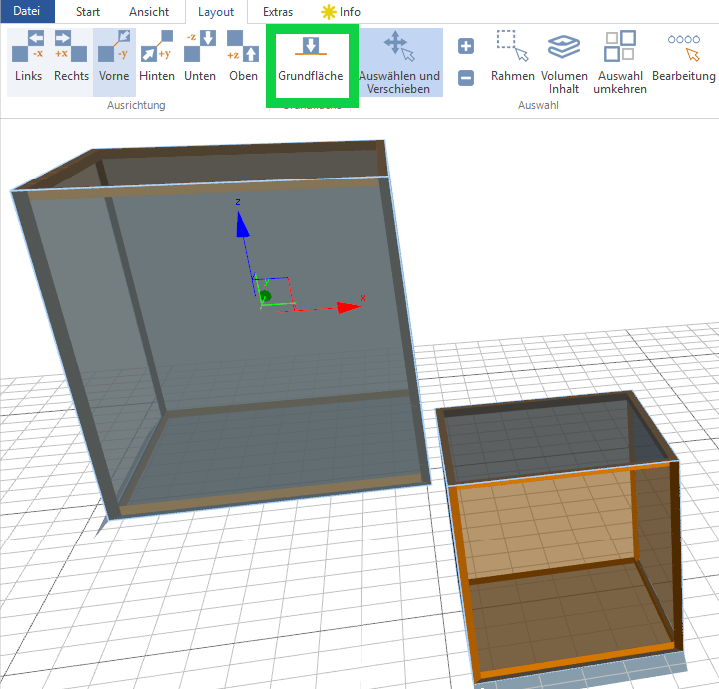
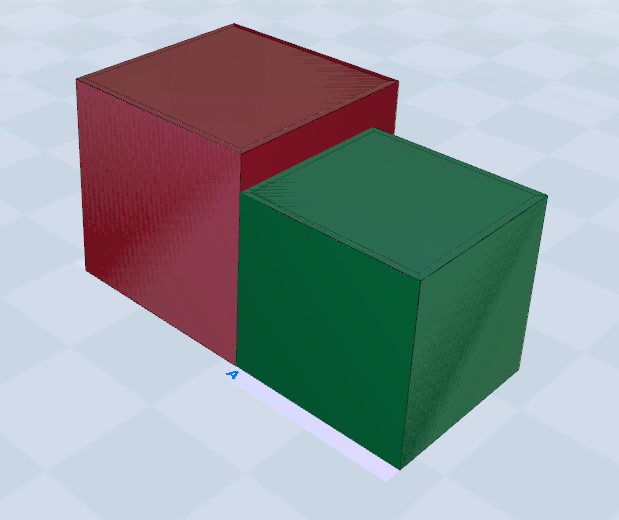
In this example, there are two bases, A and B, and both are randomly distributed in space.
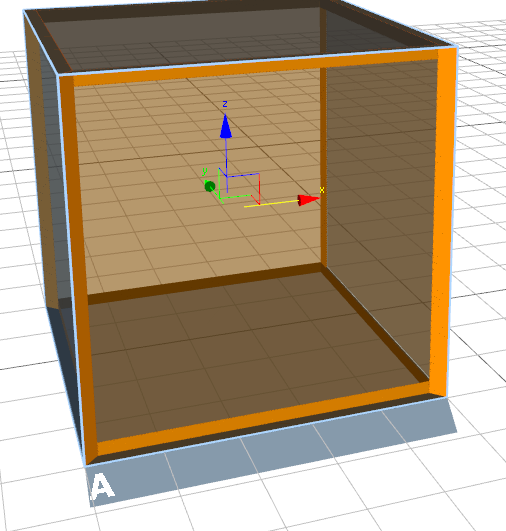
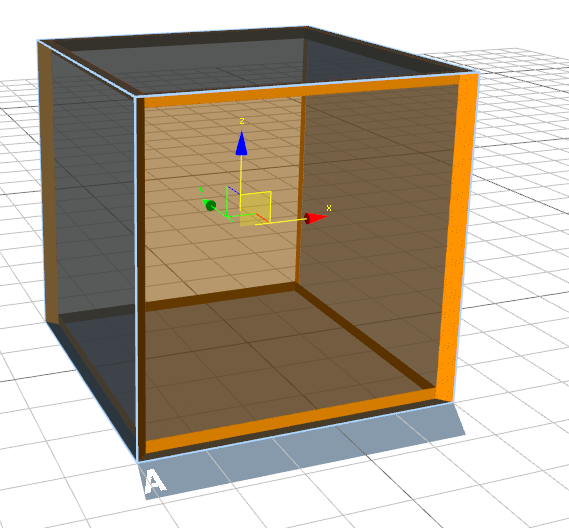
Now click one of the bases at the front of the tab at.
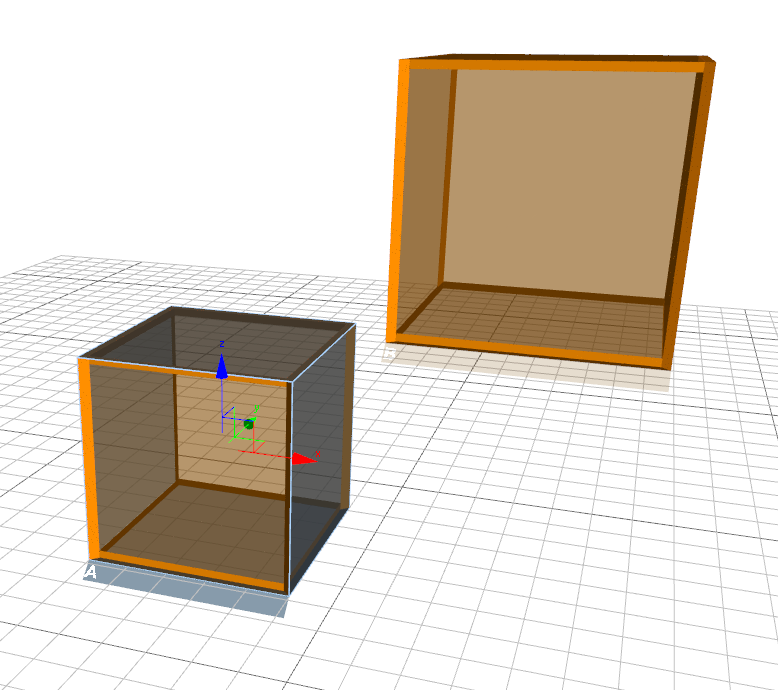
The axes are now displayed here.
In the properties window the basis there is the sub-item positioning. Here you can position the base with millimeter precision.
The axes that appear in the center of the base serve as an aid to orientation.
The Z position, if not changed by you, is half the height of the base.
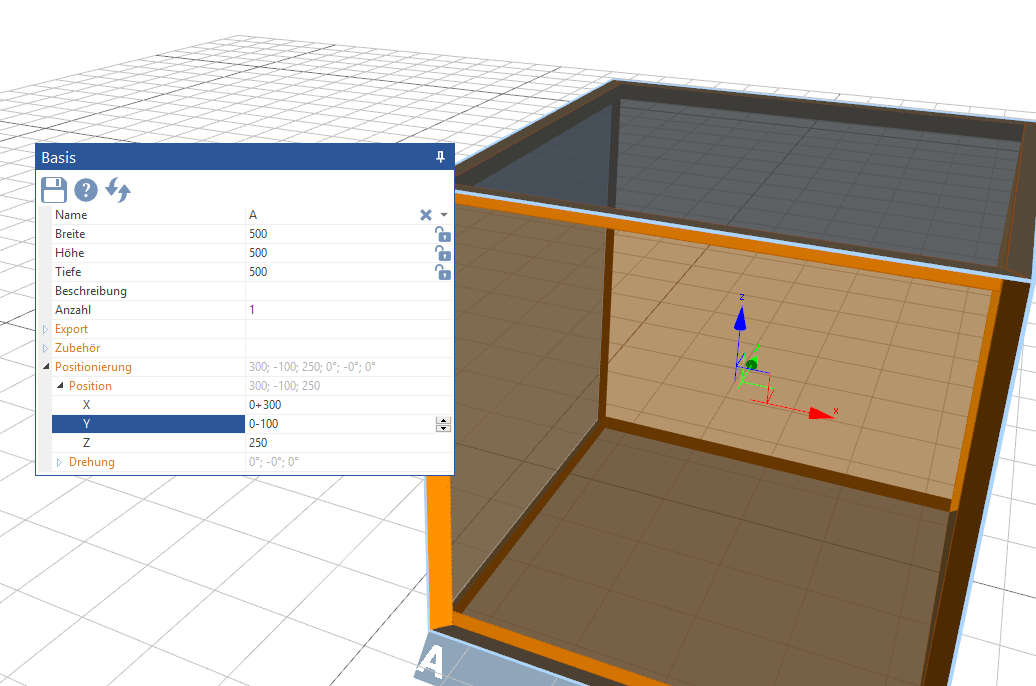
Now if the base needs to be moved 300mm to the right and 100mm forward, how do you go about it?
The X-axis points to the right, ie to get a shift to the right, add something to the current number.
Enter +300 after the zero and confirm with Enter. The base has moved 300mm to the right.
The Y-axis points backwards, ie in order to bring the base forward, something must be subtracted from the current position.
Enter -100 after the zero and confirm with Enter. The base slides 100mm towards you.
And now for the second base.
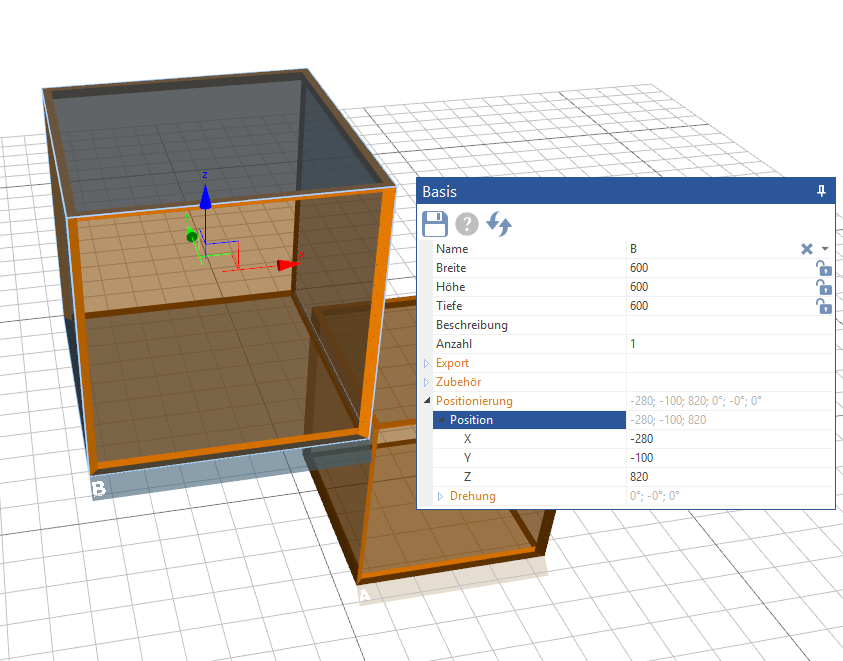
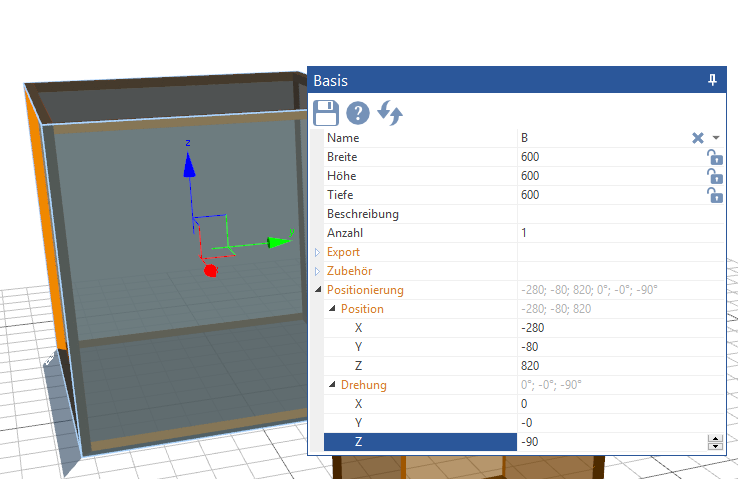
This base is to be rotated 90° clockwise.
To do this, open the sub-item rotation in the properties window the base. There you will find the 3 axes around which you can rotate.
We want the volume around the Z axis turn. Enter -90 instead of zero and confirm with Enter. The tab of the base is now on the left side.
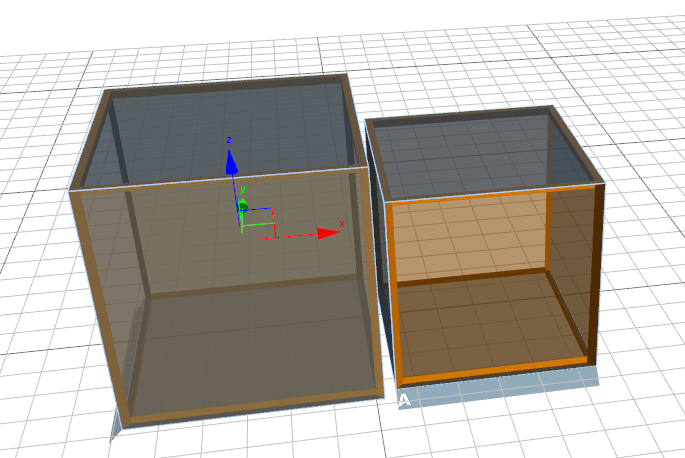
In the next step we want both bases to be the same Floor space place. To do this, we can either set the Z position of the floating base to half the base height (Z= 300), or do the following:
Select one of the two bases on the tab, hold the CTRL Hold down the button and click the tab of the second base. Both volumes are now selected.

Now navigate to the tab in the menu bar Layout.
To place both boxes on the floor, just click on the button Floor space.
Both bases are now on the ground.
Now the volumes have to be merged. As long as two (or more) bases are selected, the buttons will be in the group alignment active.

In this case, the option Below disabled because both volumes are already aligned to each other below. This is an alternative to the Ground command as long as one of the two bases is on the ground.
We now want the front of box A and the right side of box B to line up, eliminating the gap between both bases.
First click In front.
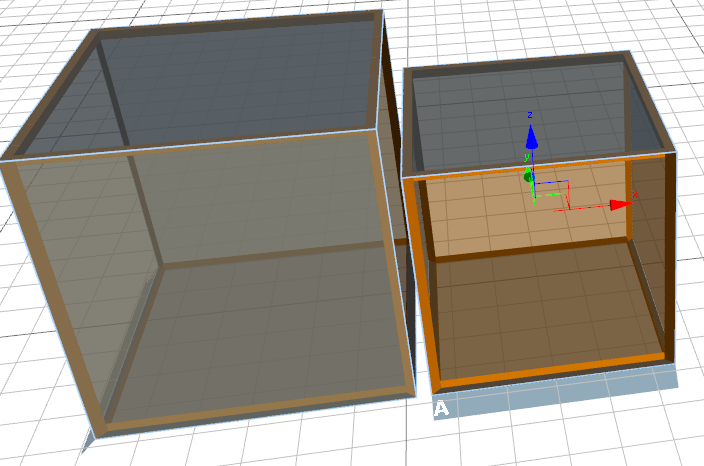
A and B are now at the same height measured from the front edge. The command In front will be deactivated.

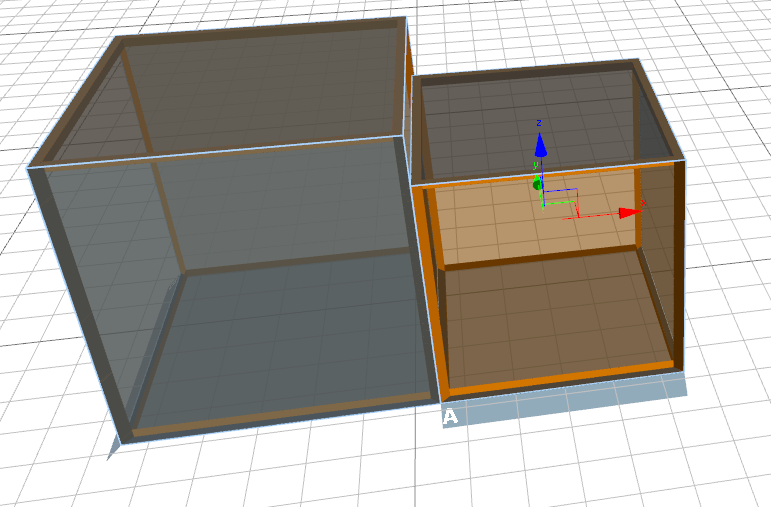
Now click Left (or right). Both boxes move together.
As mentioned, there are several options.
You can use the bases also move and rotate with the mouse.
Click on one of the tabs to show the axes. If you now move the mouse pointer over one of the arrowheads, the axis will be highlighted in yellow. If you now click and hold the left mouse button, you can move the box along the axis.
To move in the X and Z directions at the same time, move the mouse further to the center of the axis until a square is highlighted.
If you now drag with the mouse button pressed, the base can be dragged from left to right as well as from top to bottom, but not forwards or backwards.
Of course, this works with all 3 axes.
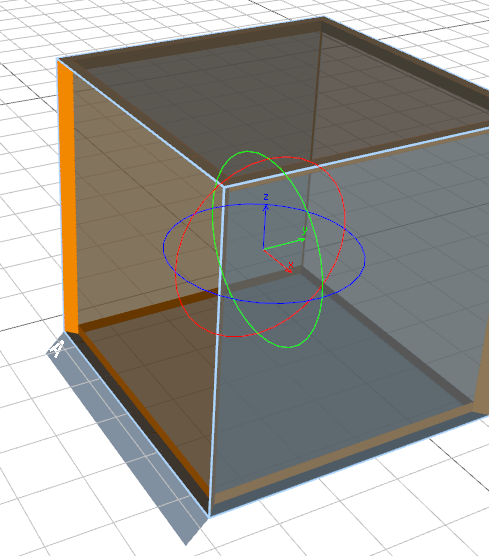
To rotate a volume with the mouse, first click on the tab in the menu bar Begin. There you will find the command Rotation.

Just below the button you will find a downward pointing arrow, if you click here you can set the number of degrees that SmartWOP will snap the rotation to.

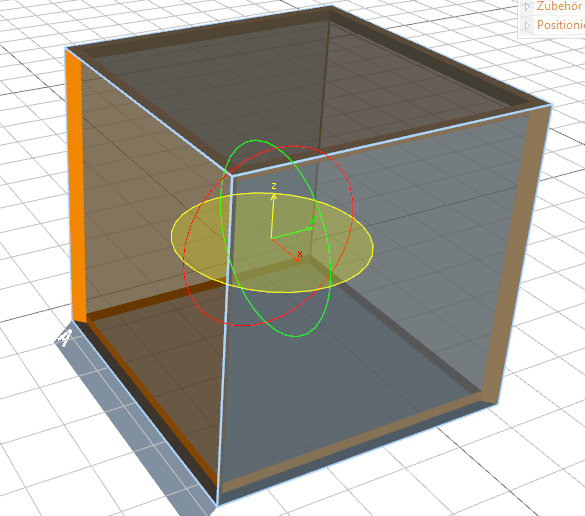
Once the number of degrees has been set, and the button rotation blue click on your base.
The Axis display changes to orbits in axis color. As with the arrowheads, the orbit yellowwhen you mouse over it.
Now hold down the left mouse button and drag along the orbit, the base will rotate accordingly.